If you’ve ever wondered how makeup artists achieve that flawless look, pancake makeup might be the secret you’re missing. This iconic, highly pigmented formula is a game-changer for creating smooth, full-coverage looks that last all day.
While it might sound old-school, pancake makeup has stood the test of time for a reason. It provides buildable coverage without feeling heavy or cakey. In this blog, we’ll show you how to apply pancake makeup like a pro and master this technique.
If you’re eager to level up your makeup skills, join Airblack’s community of 35,000+ students. With expert guidance and hands-on learning, you’ll be mastering pancake makeup and other pro techniques in no time!
But First, What Is Pancake Makeup?
Before jumping into the application process, let’s talk about what pancake makeup is. It’s a solid foundation you activate with water, giving you the full coverage you crave. It’s especially great for hiding blemishes and uneven skin tones. However, it does require a bit of finesse to avoid looking cakey—we have all been there!
Now, let’s get started on how to apply pancake makeup like a pro.
Master Pancake Makeup In Simple Steps
Want to ace pancake makeup? Don’t worry, we’ve got you—let’s break it down into easy steps!
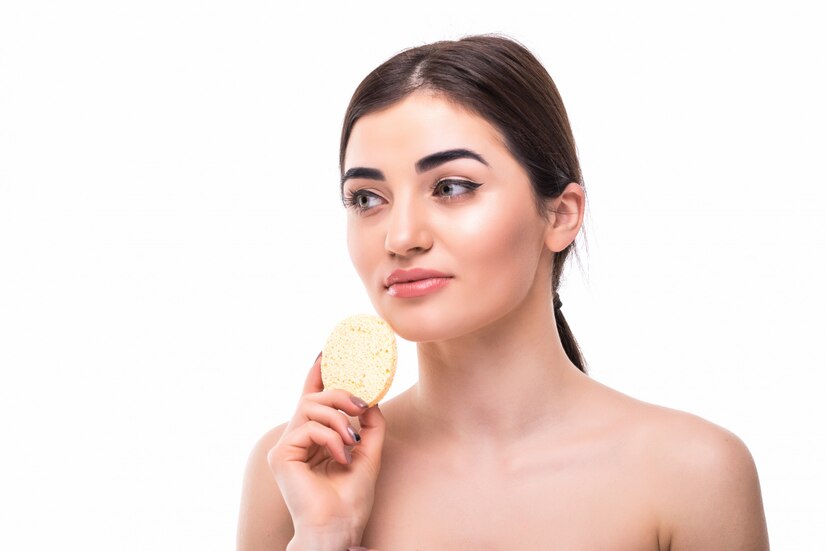
Step 1: Prepare Your Skin

First things first—let’s prep that gorgeous skin of yours!
-
- Cleanse: Start with a clean face. Use your favorite cleanser to wash away any dirt and oil.
-
- Moisturize: Apply a good moisturizer suited for your skin type. This is super important because pancake makeup can be dry, and we want your skin to look fresh and hydrated.
-
- Primer: If you want your makeup to last longer, consider using a primer. It helps smooth out your skin texture and creates a perfect base for the pancake makeup.
Step 2: Activate The Pancake Makeup
Now it’s time to get that pancake makeup ready for action!
-
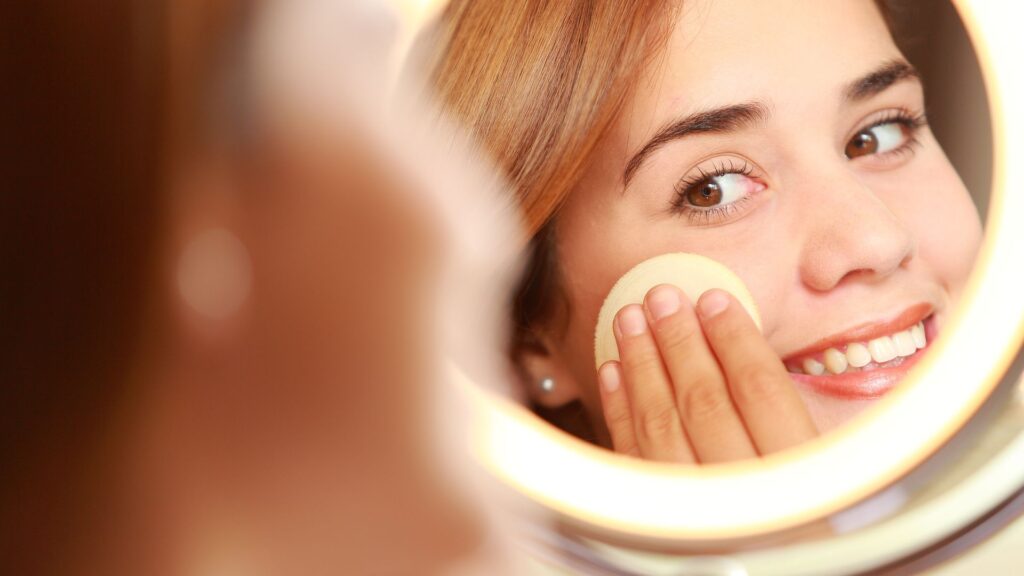
- Dampen Your Sponge: Grab a clean makeup sponge and dampen it with water. Squeeze out any excess so it’s just moist.
-
- Pick Up The Product: Rub the damp sponge over the surface of the pancake makeup to pick up some product. You’ll want enough to cover your face, but not so much that it feels heavy.
To know which products work best, consider joining Airblack Beauty Club and get lifetime access to Airblack’s B-Mart. Members can consult makeup artists and buy authentic beauty brands at factory prices.
Step 3: Apply The Pancake Makeup
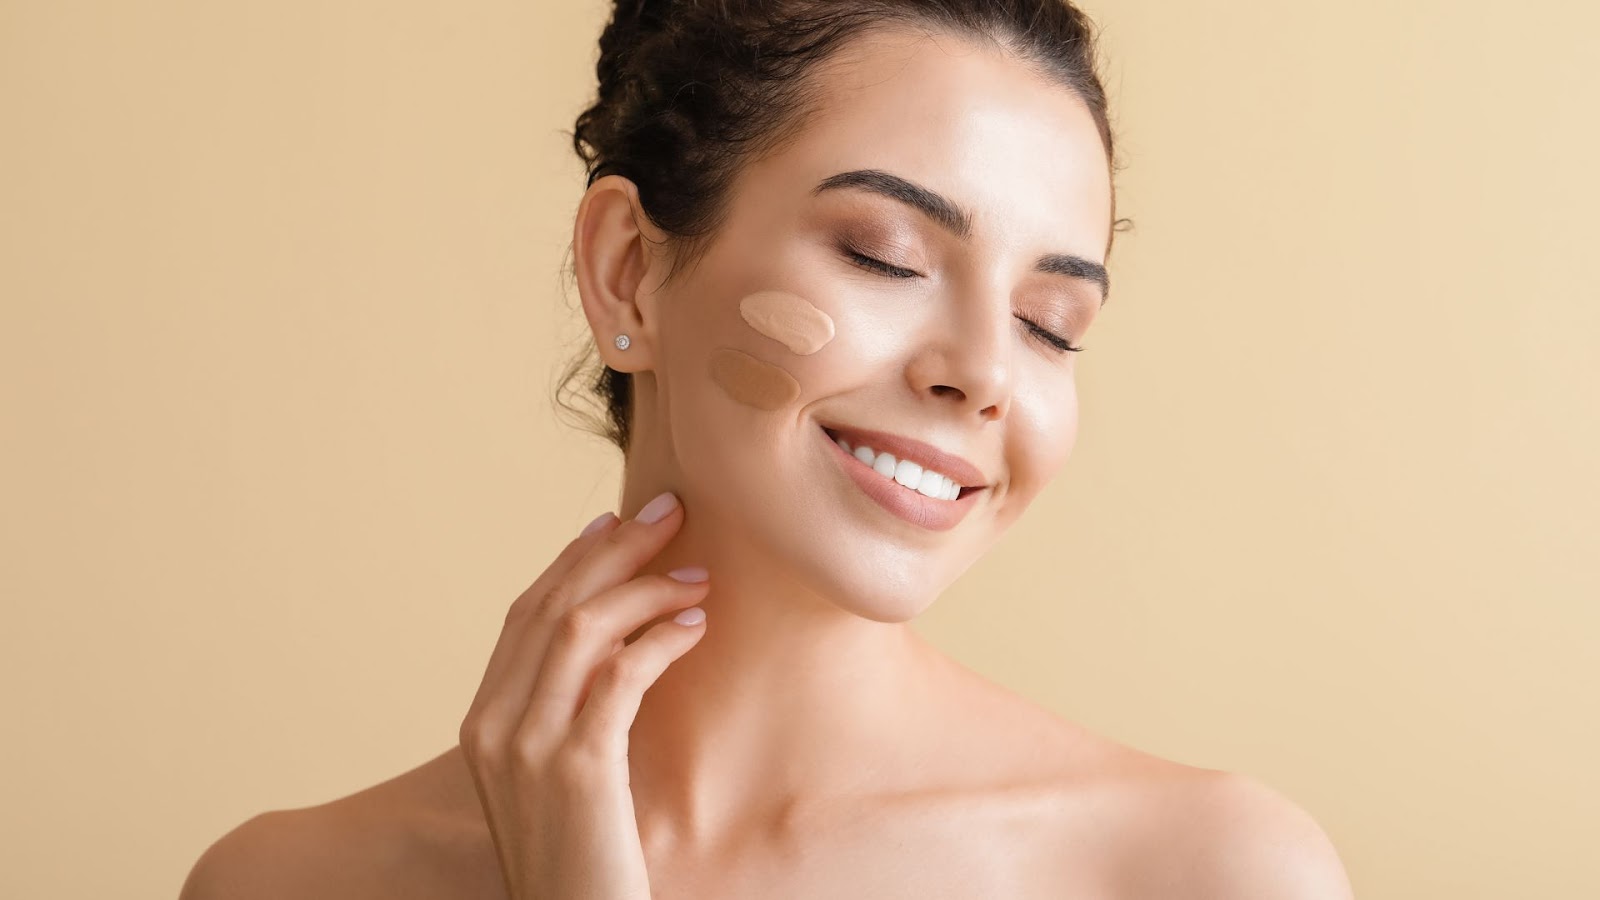
Here comes the fun part—applying the pancake makeup!
-
- Start From The Center: Begin applying from the center of your face (forehead, nose, and chin) and blend outward using gentle dabbing motions. This will help the product to spread evenly.
-
- Build Coverage: If you have areas that need more coverage (like pesky blemishes), don’t hesitate to layer on more of the product using the same dabbing technique.
Step 4: Contour And Highlight
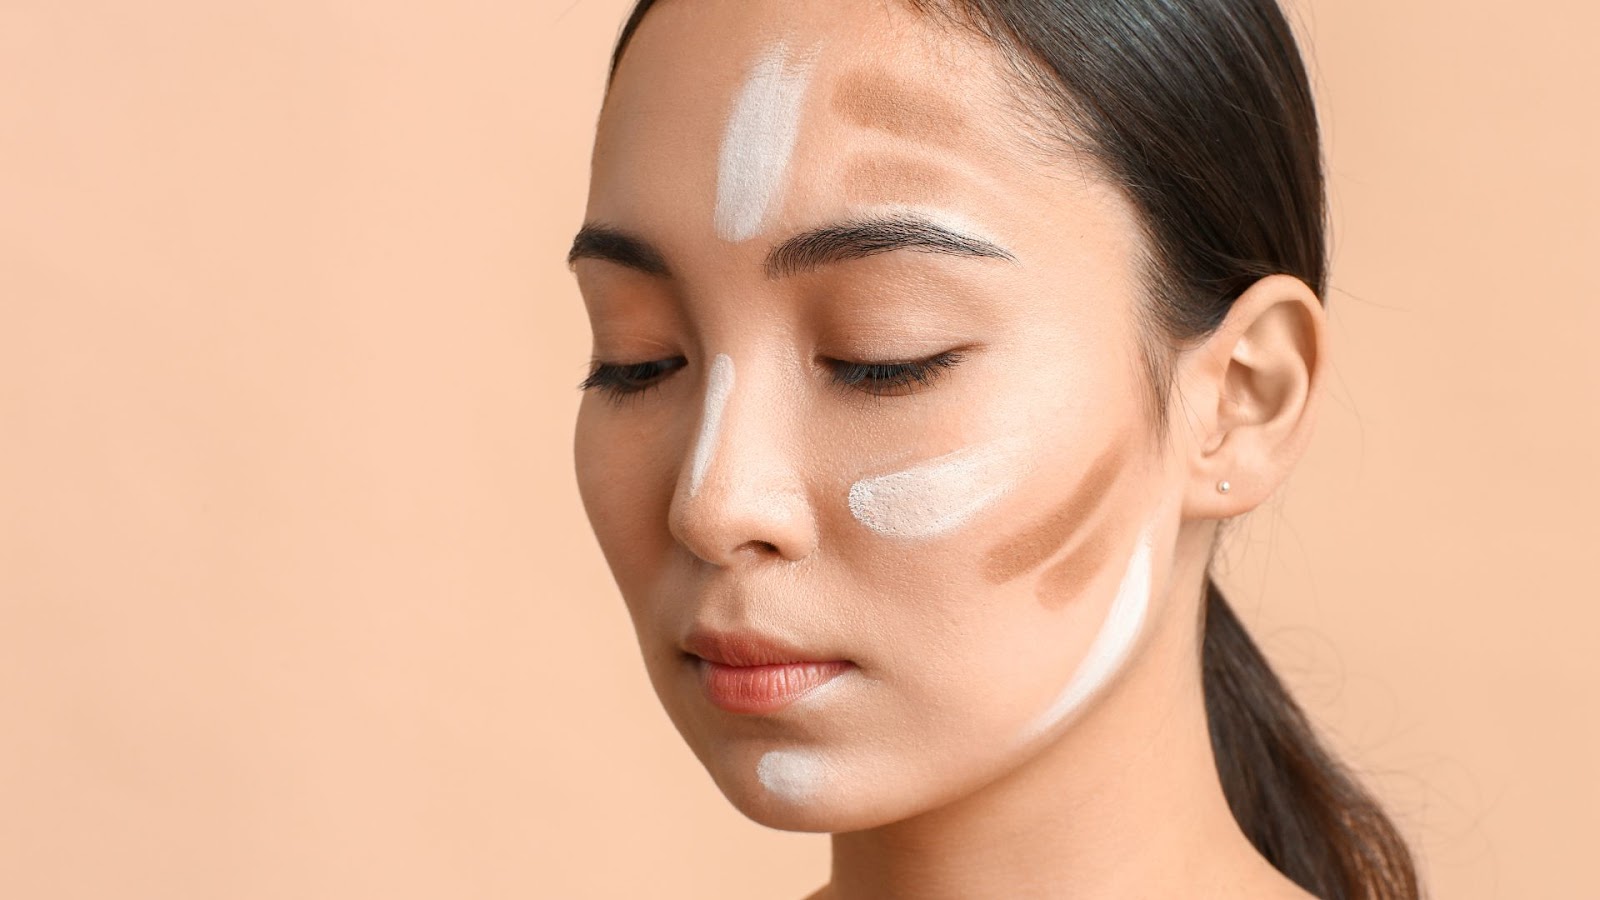
Once you have an even base, let’s add some dimension!
-
- Contour: Use a darker shade of pancake makeup or contour product to define your cheekbones, jawline, and nose. Just remember to blend well so it looks natural.
-
- Highlight: Apply a lighter shade on the high points of your face (like cheekbones and brow bones) for that lovely glow.
Did you know? Airblack has conducted 500+ live community workshops where you can learn from the best in the makeup industry. Join over 9 lakh attendees who’ve already gained valuable skills and career insights—take your makeup game to the next level by joining the Airblack community!
Step 5: Set Your Makeup

To keep everything in place, use these holy grail products:
-
- Translucent Powder: Lightly dust some translucent powder over your face. This is especially helpful if you have oily skin or will be out in warm weather.
-
- Setting Spray: Consider using a setting spray after applying powder for extra staying power. It helps lock everything in!
Step 6: Complete Your Look
Now that your pancake makeup base is set finish off with other elements:
-
- Eye Makeup: Apply eyeshadow, eyeliner, and mascara as desired.
-
- Blush And Lips: Add some blush for color on your cheeks, and choose a lipstick that complements your overall look.
Final Thoughts
And there you have it! With these steps, you can master pancake makeup like a pro. Remember, practice makes perfect! Don’t be discouraged if it doesn’t come out ideally on your first try; keep experimenting until you find what works best.
If you’re eager to learn more about pancake makeup or other beauty techniques, we highly recommend checking out Airblack’s courses. Airblack offers fantastic resources and hands-on workshops where you can learn directly from industry experts.
So why not take the plunge? Join Airblack today and start your journey towards becoming a makeup whiz! You’ll be amazed at what you can achieve with a little guidance and practice. Happy makeup application!