
What exactly is a cut crease, and why is it taking the makeup world by storm? Let’s break it down and show you how to master this bold, eye-defining look.
Cut crease eye makeup is a bold, dramatic technique that defines the eyes with sharp lines and contrasting shades, making them appear larger and more defined. While it might sound complex, mastering this technique can be easy with the proper steps.
In this blog, we’ll walk you through the process of creating a stunning cut crease eye makeup look—step by step. From choosing the right eyeshadows to applying the perfect crease, you’ll learn the essentials to make this technique work.
If you want to sharpen your makeup skills and take your eye looks to the next level, Airblack offers expert-led makeup courses that provide hands-on experience with techniques like cut crease eye makeup. Join Airblack today and start mastering professional makeup artistry!
8 Easy Steps To Create Simple Cut Crease Eye Makeup Look
Want bold, defined eyes that pop? Don’t worry. We’ve got you covered with 8 simple steps to master the cut crease look and enhance your natural beauty.
Step 1: Gather Your Supplies

Before diving into the application, gathering all your makeup supplies is essential. Here’s what you’ll need:
- Eyeshadow Primer: This will help your makeup last longer.
- Eyeshadow Palette: Choose at least two contrasting colors—one for the lid and the crease.
- Concealer: A creamy concealer will help define the cut crease.
- Brushes: A flat brush for applying shadow, a blending brush, and a precision brush for the concealer.
- Eyeliner: Optional, but it can enhance the overall look.
- Mascara: To finish off your eye makeup.
With these tools ready, you’re set to create a fantastic cut crease eye makeup look!
Step 2: Prime Your Eyelids

Start by applying an eyeshadow primer on your eyelids. This step is crucial as it creates a smooth canvas for your eyeshadow and helps it adhere better. Use your fingers or a brush to apply a thin layer evenly across your eyelids.
Once your eyelids are primed, it’s time to add a soft transition shade to create depth and set the foundation for your cut crease.
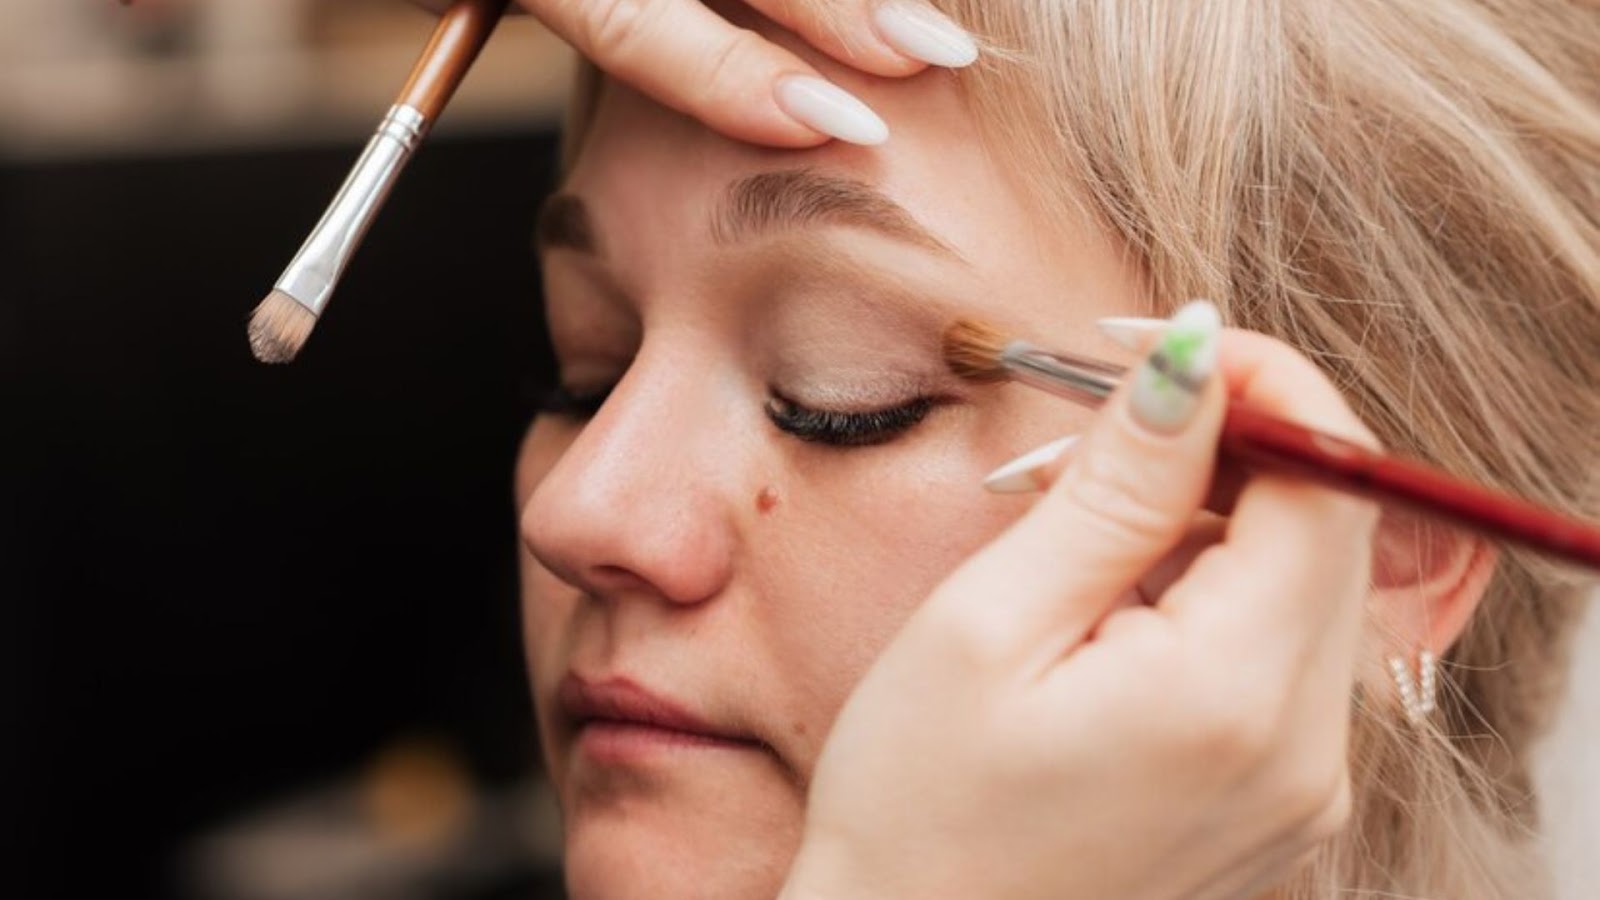
Step 3: Apply Transition Shade

Next, pick a fluffy blending brush and a soft transition shade from your eyeshadow palette. This shade should be slightly darker than your skin tone. Apply it in the crease area using windshield wiper motions to blend it out seamlessly. This step will create depth and make blending easier later on.
If you’re eager to enhance your skills and learn more about makeup techniques, now is the perfect time to consider joining Airblack’s interactive workshops. You’ll get hands-on experience and expert guidance!
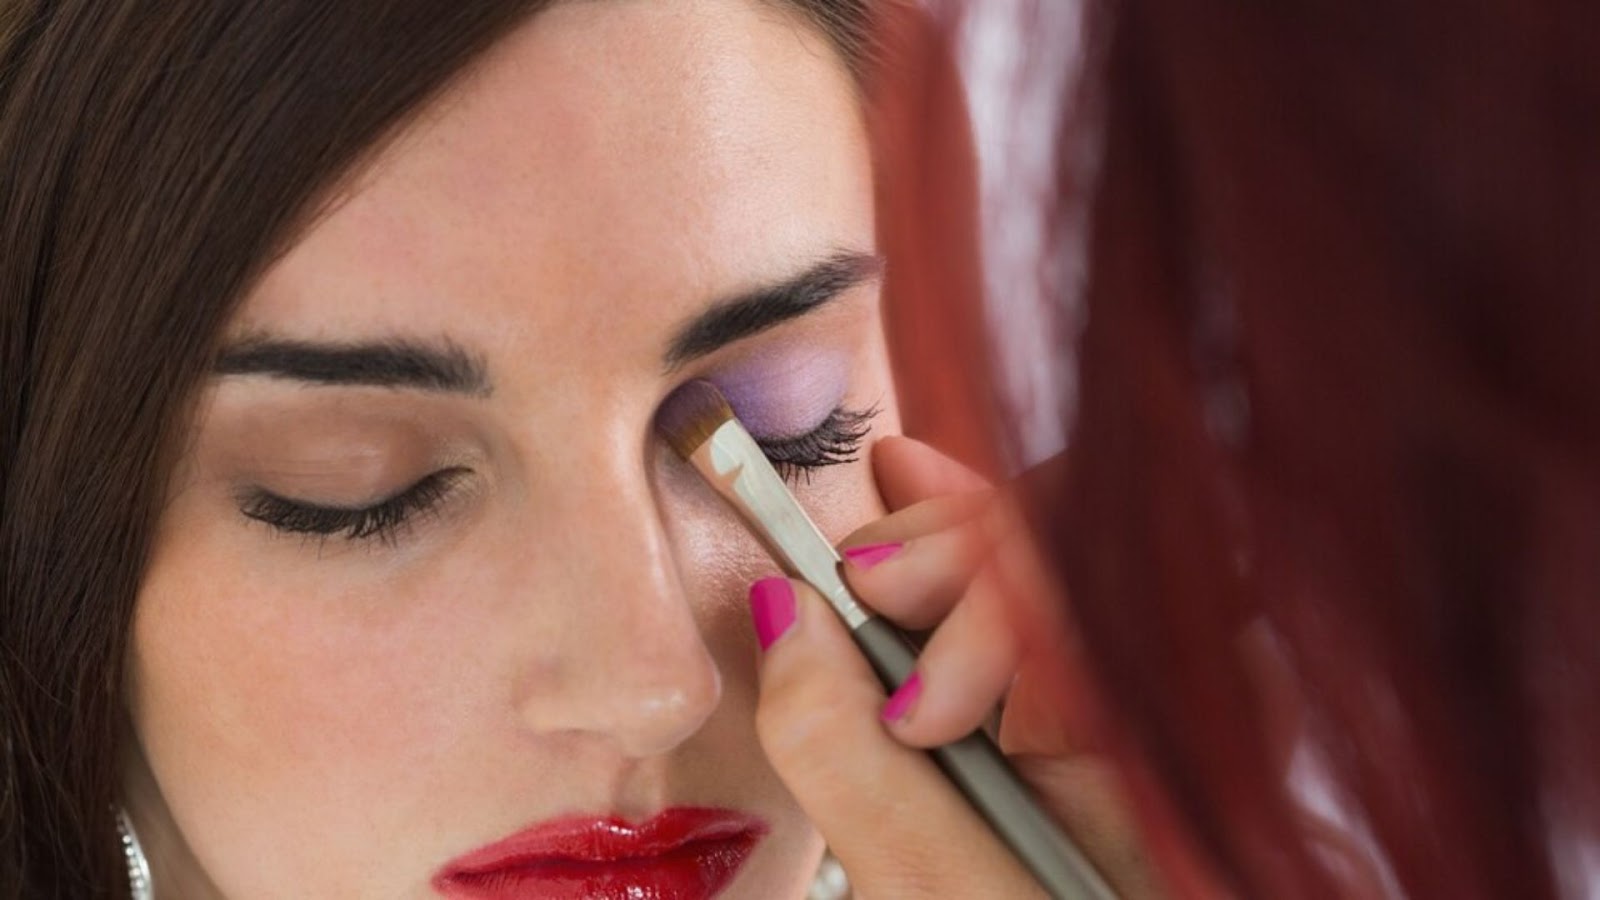
Step 4: Define The Crease
Now comes the fun part—defining that cut crease! Using a precision brush, pick up a darker shade from your palette. Apply this color directly into the crease of your eyelid, focusing on creating a sharp line. Don’t worry about being too neat at this stage; you can always clean it up later.
With your crease defined, it’s time to carve out that sharp cut for a bold, defined look.
Step 5: Cut The Crease

Grab concealer and a flat brush to achieve that signature cut crease look. Take a small amount of concealer on the brush and carefully carve out the area above your eyelid where you want to create the “cut.”
Start from the inner corner and work your way outwards, following the natural shape of your eye. The goal is to create a smooth line contrasting your crease’s darker shade.
After carving out the crease, it’s time to add a pop of color to your lid for that perfect contrast.
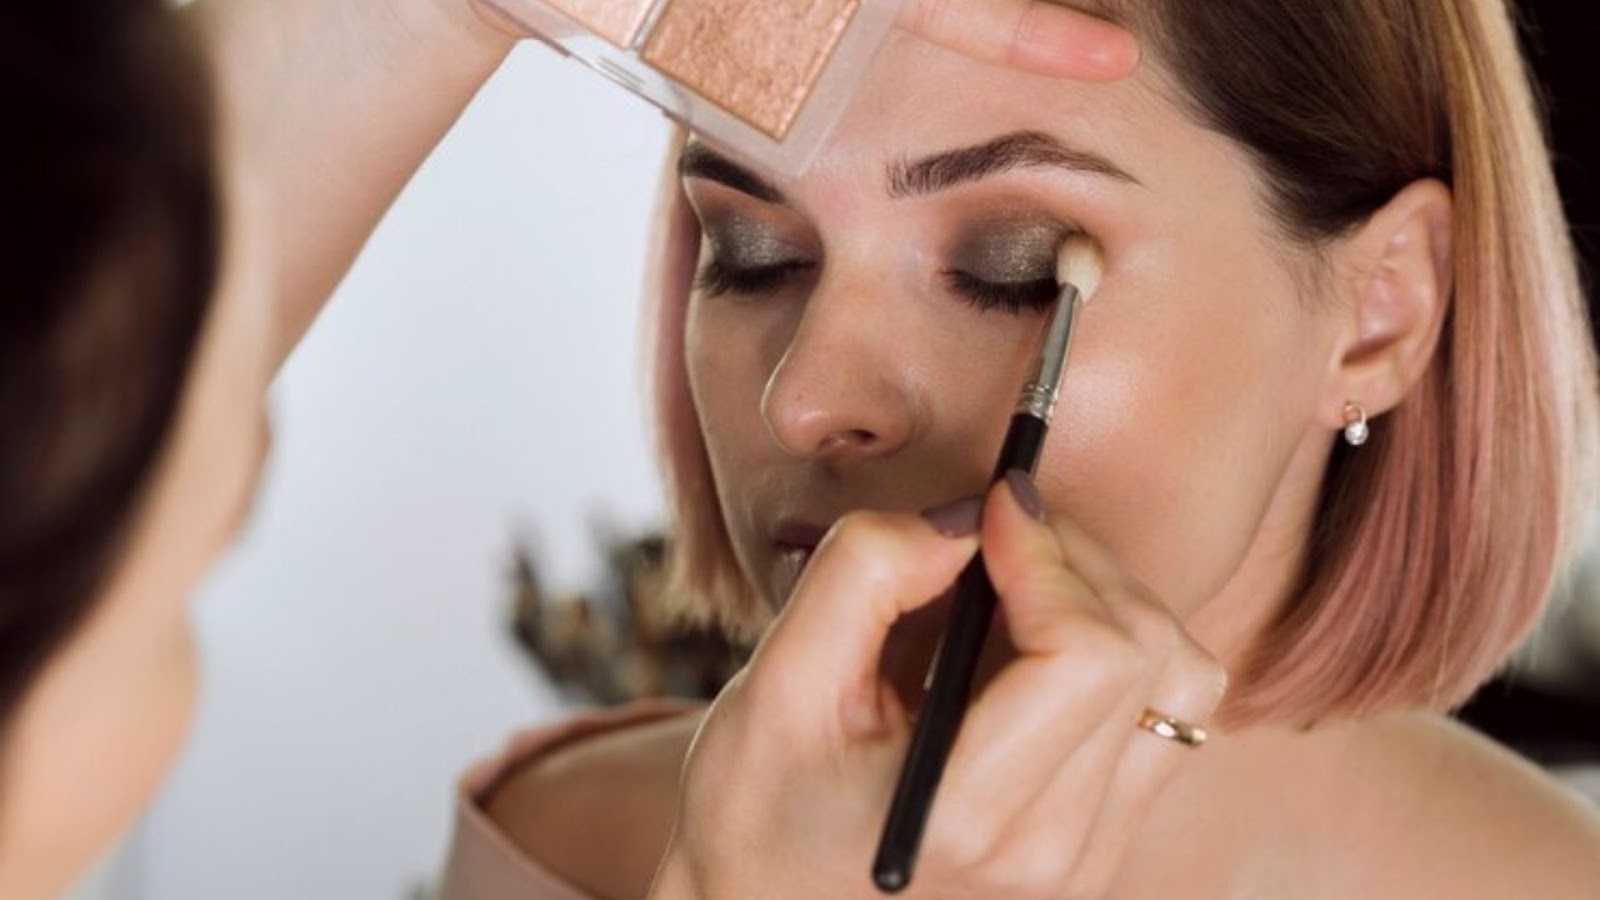
Step 6: Apply Lid Color
Once you’ve carved out the crease with concealer, it’s time to apply your chosen lid color. Use a flat brush to pack on this shade over the concealer area. This color should be lighter or more vibrant than the one you used in the crease to create that striking contrast characteristic of cut crease eye makeup.
With your lid color in place, it’s time to blend everything for a smooth, seamless finish.
Also Read: How to Avoid and Fix Cakey Foundation in Simple Steps
Step 7: Blend Everything
Now that you have defined your crease and lid colors, blending everything for a seamless finish is time. Use your blending brush with no additional product to gently blend where the lid color meets the crease color. This step is crucial as it helps eliminate harsh lines.
If you want personalized guidance on these techniques, consider enrolling in Airblack’s Diploma in Professional Makeup Artistry and Beauty Entrepreneurship. Here, you can learn everything from the theory of makeup to the best eye makeup practices directly from top professionals in the field!
Step 8: Add Eyeliner And Mascara

To complete your look, apply eyeliner along your upper lash line if desired—this adds definition to your eyes. Finish off with mascara coats on both upper and lower lashes to make those eyes pop!
Also Read: Nude Makeup: Steps for a Natural Look
Conclusion
Mastering the cut crease eye makeup look is a game-changer when creating bold, defined eyes that make a statement. With just a few easy steps, you can add depth and dimension to your eyes, whether for a subtle daytime look or something more dramatic for a special occasion. The key is practice and patience; soon enough, you can easily create flawless cut creases.
If you’re looking forward to elevating your makeup skills and learning more techniques like cut crease, Airblack offers expert-led beauty courses that take you from basic to advanced makeup artistry. With hands-on learning and guidance from industry experts, you’ll gain the confidence to create professional-quality looks every time.
Ready to take your makeup game to the next level? Join Airblack today and start creating stunning, eye-catching looks that showcase your talent and creativity!